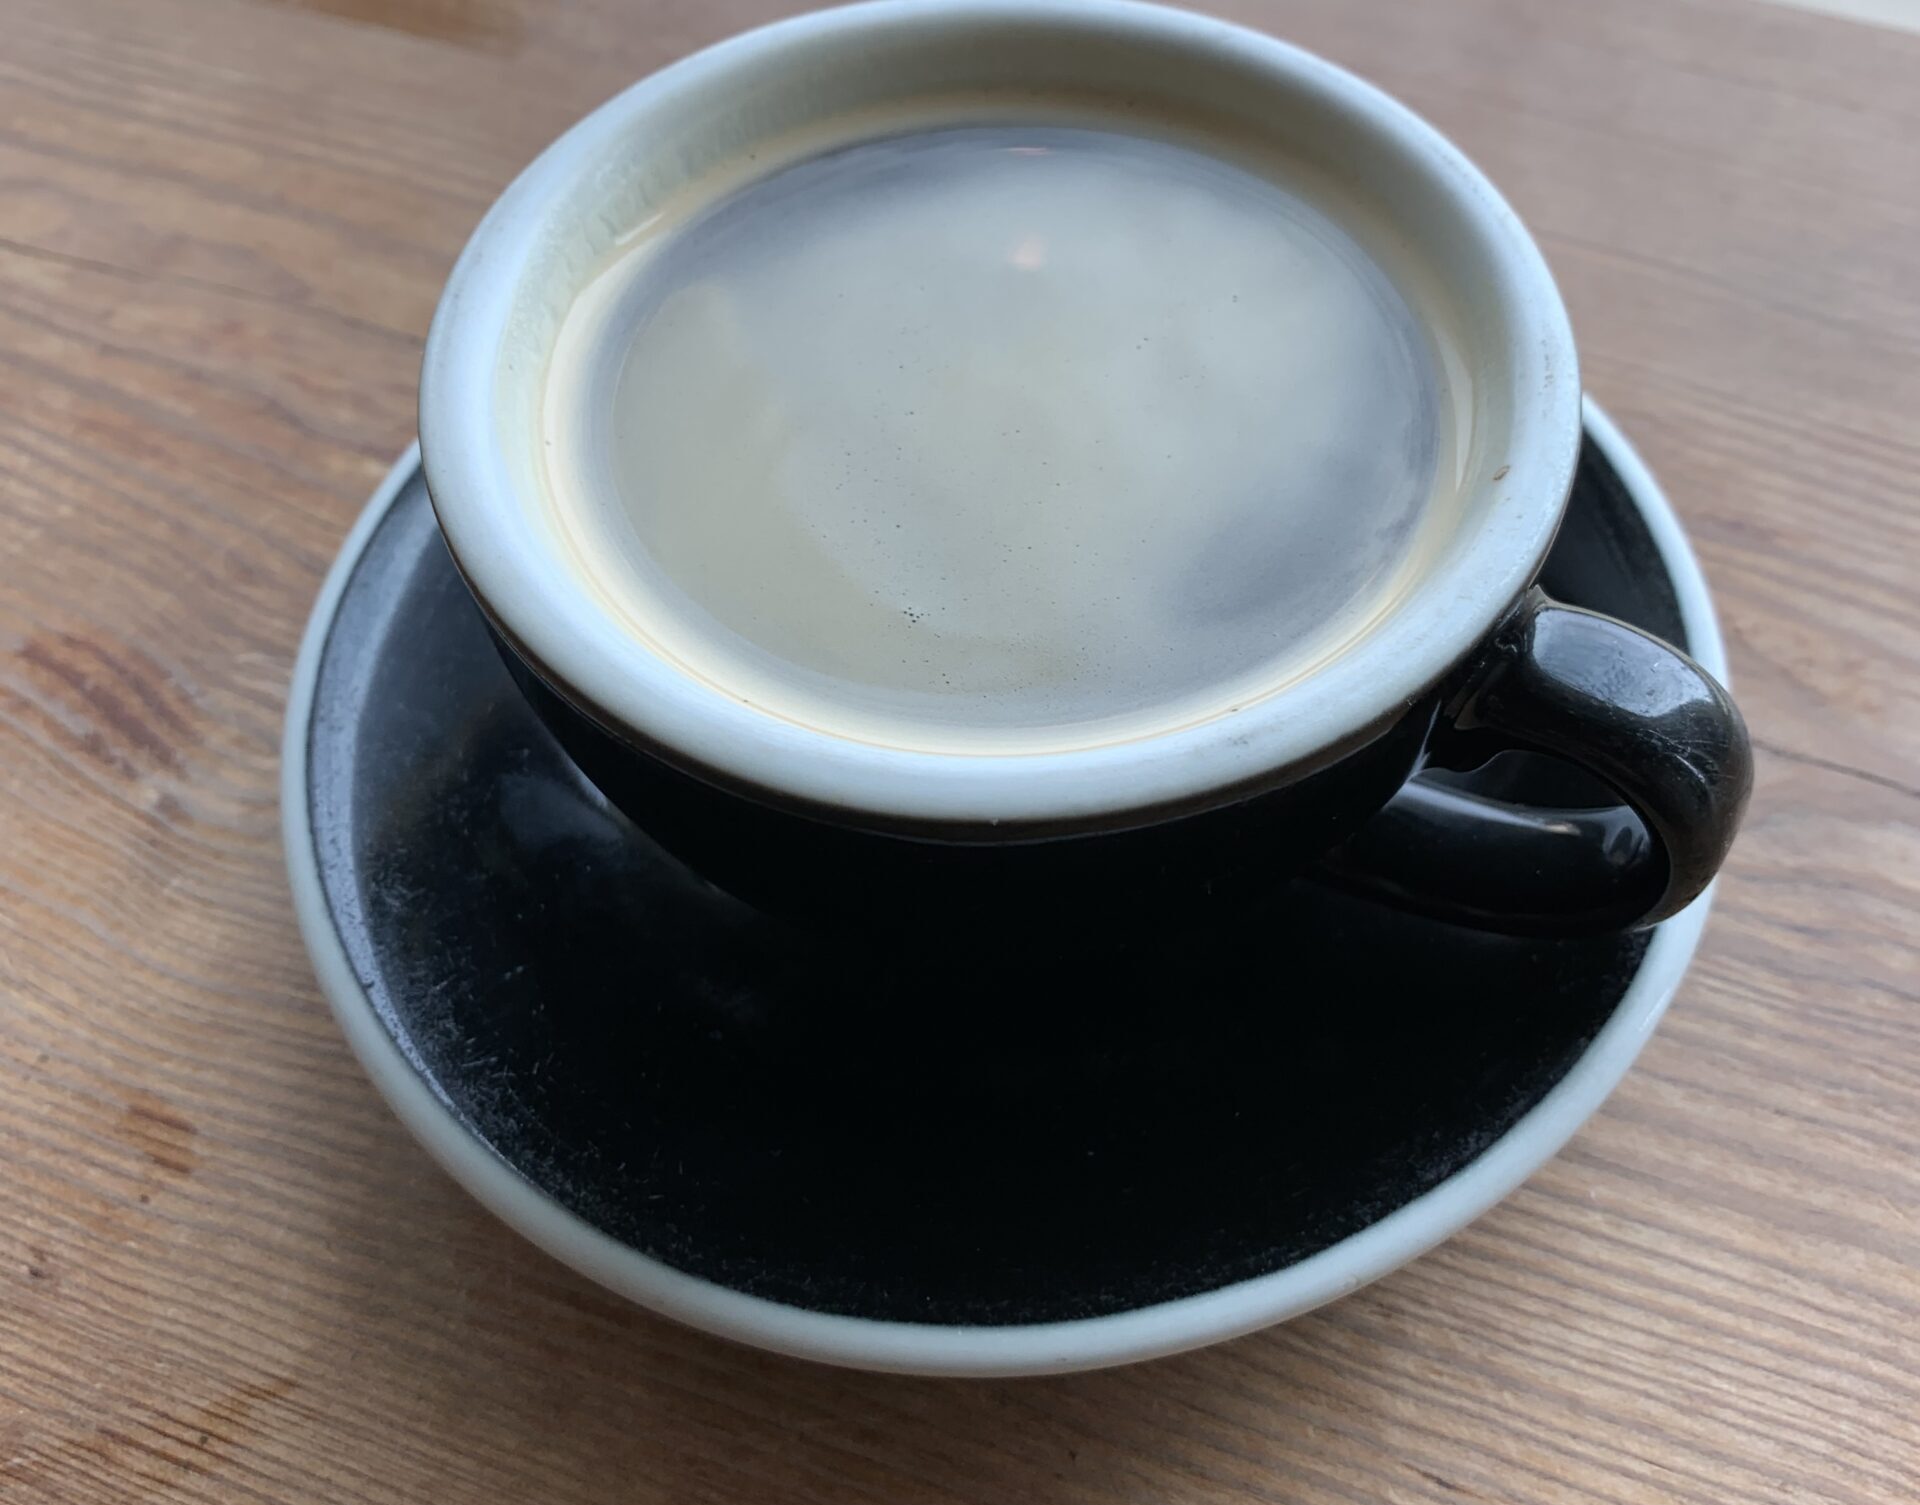
When you need a complex cup of coffee but don’t quite like the bold flavors of either espresso or french press, then the Hario V60 is here to save the day!
Often times we get caught up in the debate of European coffee vs American coffee with each side taking digs at the other.
Honestly though…who cares as long as you’re enjoying what you make.
One of the mainstays I found when traveling to Europe was the coffee was very consistent and used espresso shot pulls first and then proceeded to make whatever drink they wanted and amongst them was the Americano.
It’s their version of 50% espresso to 50% water to pacify what they think the average American pallet can handle.
Any office working American will tell you that their drip coffee maker at work is what the go to is and thats going to be even more lighter than an Americano.
Don’t get me wrong, I love Americano coffee, but for a daily cup where I am using a higher quality bean from Ethiopia, Kenya, Brazil, or just a great Colombian variety – I prefer using the Hario to bring out and extract the flavors I want.
It’s my everyday workhorse. And it’s incredibly easy to clean!
Anyways, here’s the full recipe using a slightly coarser grind (setting 10 on the Oxo grinder) and a 1:16-18 split ratio:
Equipment
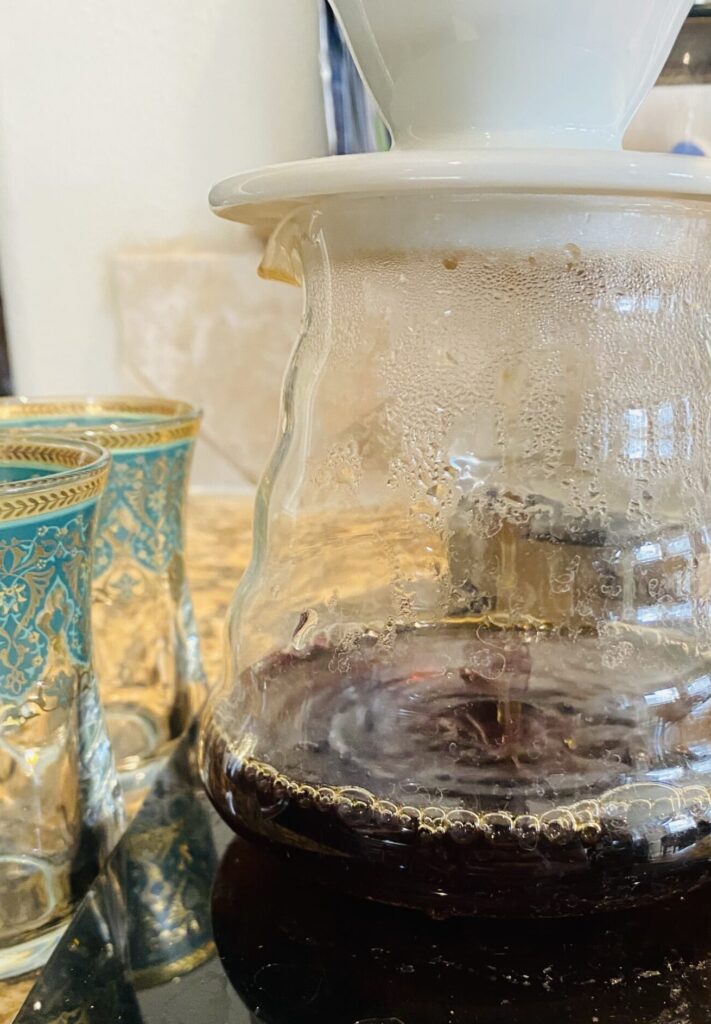
Hario V60 – i use the 2 cup ceramic version which in reality yields more like a single 10-12oz cup for me but if I feel like splitting the ratios I can easily share with 1 more person.
Hario V60 is a great platform to get started in coffee brewing and lets you experiment with grind sizes, water temps, and ratios to get you the flavor you’re wanting out of your daily brew.
Occasionally, I will use this setup to brew a 15:1 ratio water:coffee and add some mill and it comes out as a nice afternoon or evening time pick me up.
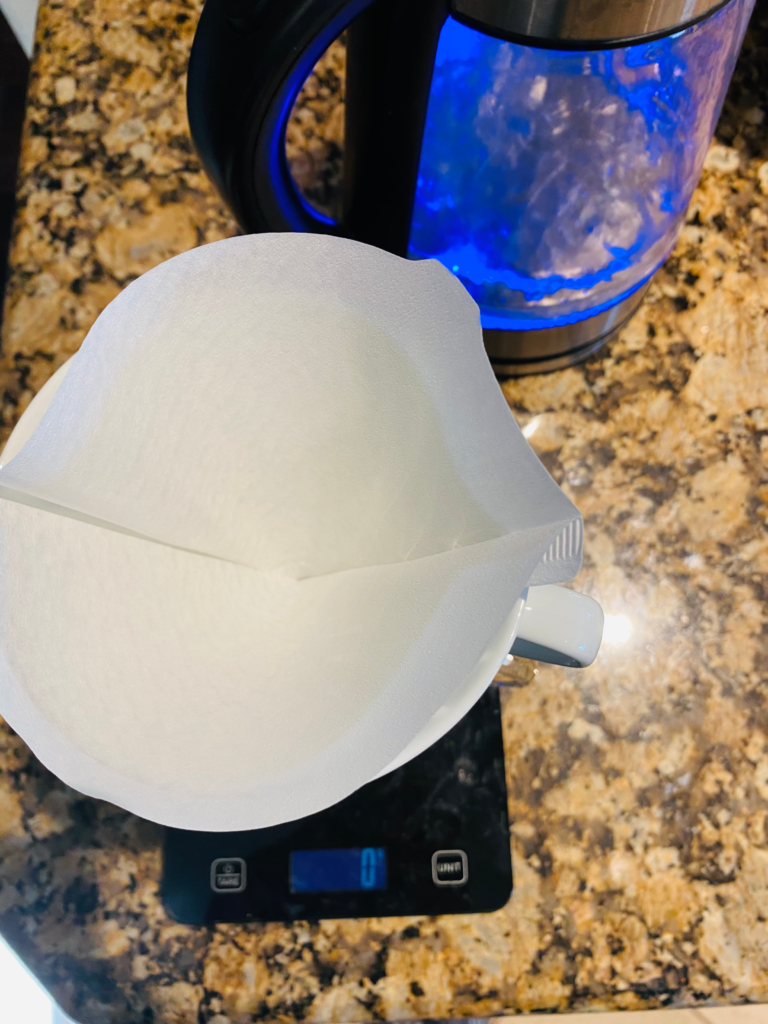
Kitchen Scale – must be capable of handling things like ounces and grams down to single digits.
Coffee is sensitive to measurements. Get a good quality scale that you can use daily and wont be destroyed if you accidentally spill hot water on it every once in a while.
Water Kettle – typically a gooseneck is whats popular and gives the greatest control since water distribution is important in coffee making you will need something easy to control down to making spirals as you spread and pour the water.
Kettle set point should be at 200F. This is slightly below the boiling point of water and yields a more well rounded cup.
Fresh Coffee Beans– go to your local roaster for the best stuff. Ask them to grind it for you but it’s better to grind your own to keep the freshness longer.
Look for a light or medium roast and single origin variety with a roast date on the packet.
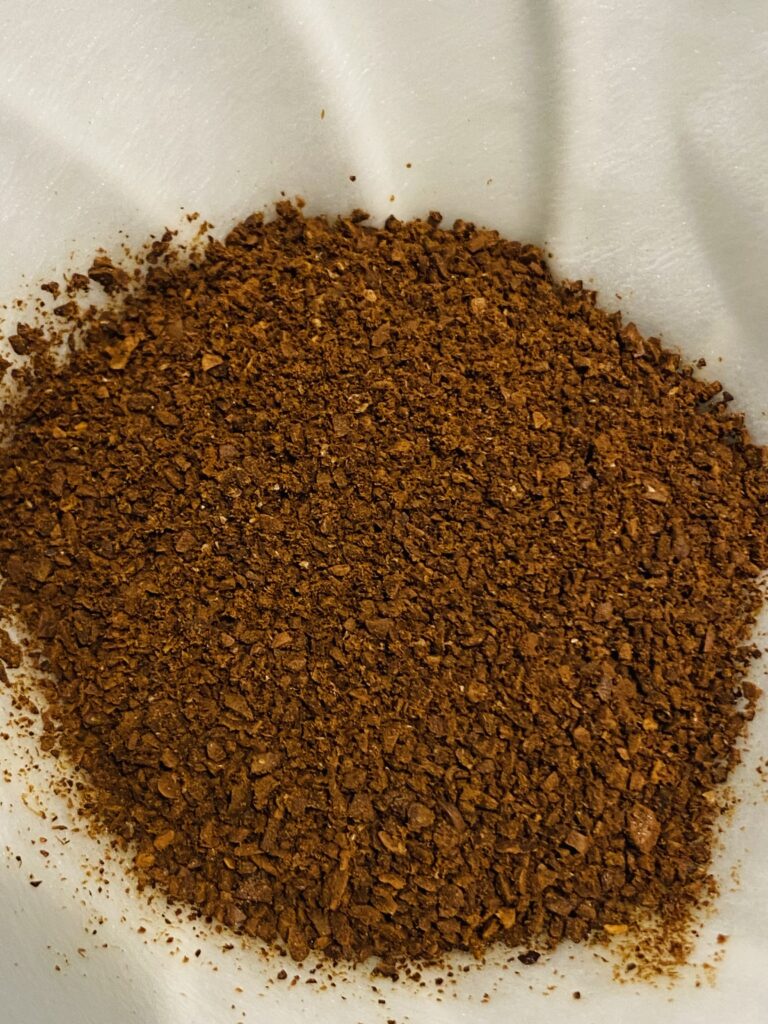
Ask them to grind for pour over but slightly coarser for pour over. It will be somewhere between a rock salt and a french press grind.
Something to be on the lookout for is having a roasted date that’s not within 1-2 months which could mean the roaster is over producing and turnover for their coffee is low.
You will typically find a decent bag of 12oz coffee bean will be around $20. Anything cheaper and you’re not likely going to taste any notes described.
Water – coffee is only beans and water so water plays a role here and if you can a spring water or water thats bottled thats ideal.
I use reverse osmosis water that comes out from my home water system and that helps greatly eliminate hardness in my kettle and equipment. Also, I’m convinced it helps with the flavor of the coffee!
Feel free to adjust the ratio on the water to coffee. The baseline is 15 parts water to 1 part coffee, but I feel like I pick up the most tasting notes when its closer to 16:1 or as high as 18:1 on certain coffees.
Coffee Grinder – you can use a handheld grinder or a conical burr grinder.
Using a cheaper metal miller found on most kitchen appliances will result in uneven grind size and an over processed blend.
There are lots of options on the market and for a beginner just get whatever one fits your budget. Would rather you save money here than on the highest quality beans if given the choice.
Steps
- Heat up 250-270 grams (and about 50g more for filter rinse) of water on the water kettle and let it cool down for about 30 seconds. You don’t want boiling water, just off boil where it’s hot.
- Grind 15g of coffee beans to the consistency of slightly coarser than a normal pour over (grind setting 10 on Oxo).
- Place a Hario paper filter inside the Hario and place on a cup or a carafe.
- Once the water heats up, rinse the Hario filter with about 50grams of water and discard.
- Pour the coffee into the Hario filter and tap gently to distribute the grinds.
- Create a crater in the middle of the coffee grinds using your finger or a spoon and making sure not to tap too hard to avoid compacting the grinds.
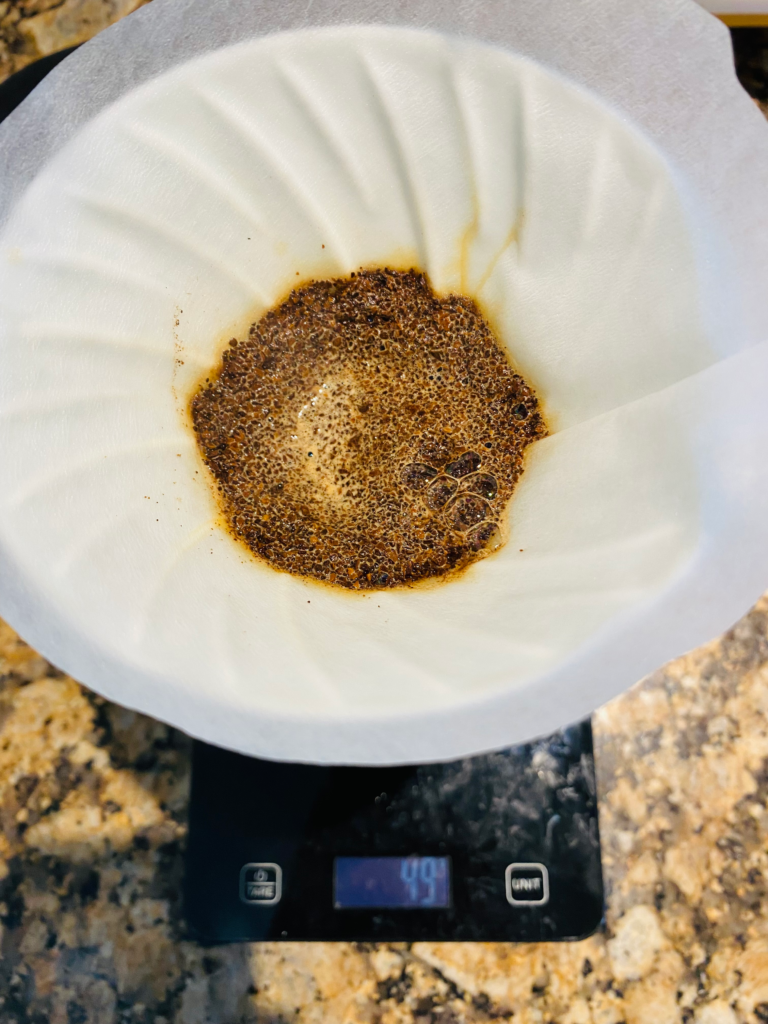
- In a swirl pattern add in 50g of water and let the coffee “bloom” for about 30 seconds. You will see the coffee bubbling gently. This helps in de gassing and boiling off some of the excess compounds that result in bitter coffee.
- In the same swirling pattern, add in the rest of the water in 100g intervals so that the water does not reach the top of the Hario as that will oversaturate and make it harder for the water to pass through.
- Completing the pour and extraction should take about a minute for a total brew time of 1m30s.
- If using the Hario carafe, swirl the coffee around gently after it’s done extracting and pour into the glass at a distance to introduce a little aeration.